Fortress Occident Developer Blog

Comments

Cognitive orbit

Taking a break again from picture math and from being a weather god. Never a dull moment around here.

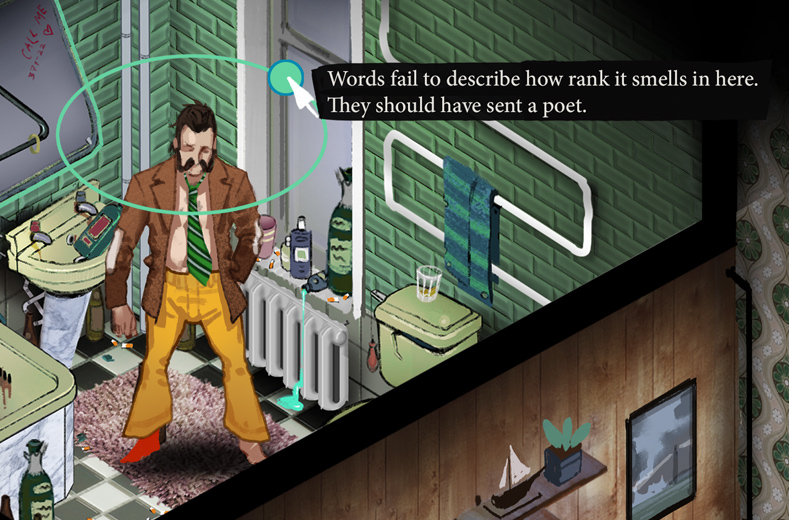
Here’s a little part of a feature we call Sense Overlay. The gist of it is, the world will have interactable objects marked by outlines and in some cases orbs. While interactions with visible objects are placed within world space, other senses (smell, hearing) that do not have a pinpoint location are placed in an orbit around the player’s head. Because if you happen to be a humanoid, that’s where most of your sensing happens.

This concept art depicts your sense of smell being a bit… saturated by your surroundings.

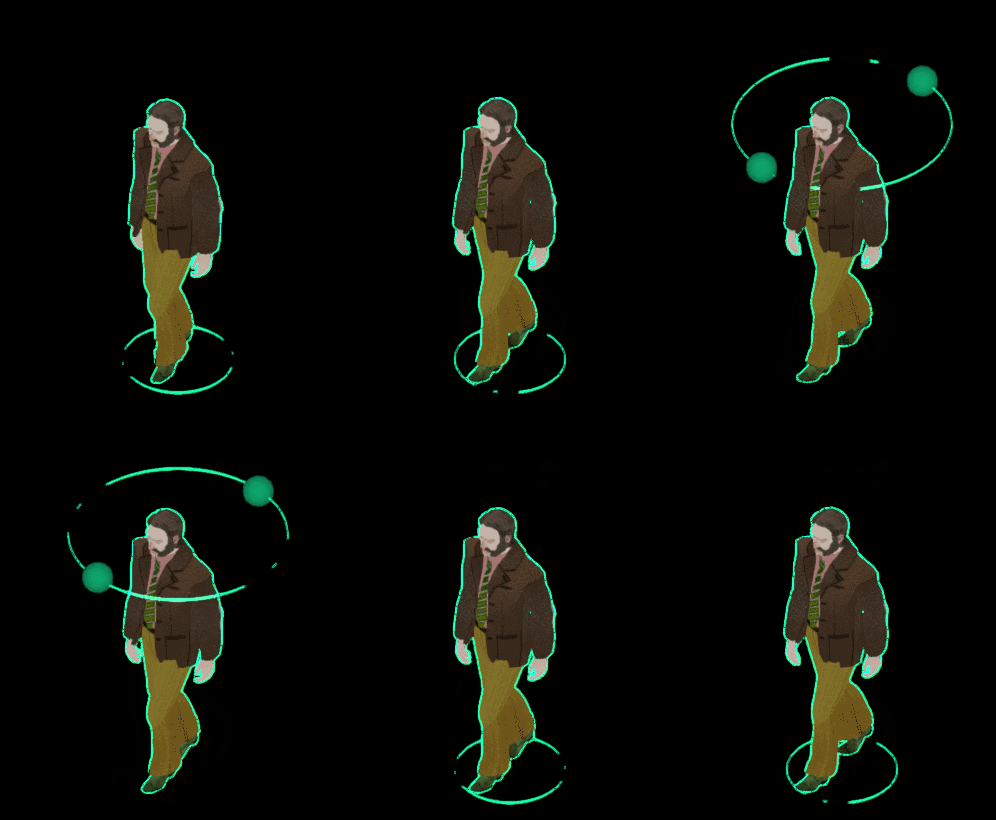
Here’s a very early go at programming it, along with a bit of clipping. Devlogs are never complete without a bit of involuntary clipping.

You press Tab to call up your Sense Overlay which includes the selection ring becoming an orbit of sense orbs (affectionately named Hula and Halo by the programmers). This was a quick update, more on those bad boys later.

Also. After a motherboard crash in the studio, I got to work on my crappy little laptop for a while and decided to give up my beautiful render-to-mask highlight system. Rendering the whole scene with replaced shaders and edge-detecting the result in post-process seems to hog up a bit too much GPU time, even after several optimizations.

We are aiming the game for oldish hardware as well and thus might have to make do with the good old mesh extrusion method. Will have to review the asset creation pipeline because those sharp edges are going to be a pain.

Any ideas on efficient silhouette highlighting when your model has split vertex normals?

Comments

Picture math

Hi there! While the background renders are coming along, I’m taking a break from being a weather god to explain the Glorious MulTan Map (® ™ etc).

Everything in this post is black, white and red because it’s raining and I’m feeling particularly noir today. Cool

Baking the background for a pre-rendered game isn’t as straightforward as it used to be. For instance since we want to use real time lights we can’t just bake shadows into the background. Say if you illuminate an area in shadow with a flash light a render with baked in shadows will not have enough colour information to properly light up.

So. We have to split our background up into separate colour and shadow components. This is actually great because it will give us a chance to swap shadows based on the time of day. To do this we render our background map at three different times of day and with a very neutral overcast light. All together 4 versions.

Here’s our overcast render (neutral map) vs a moody morning map.

We render these into floating point EXR buffer files to keep as much information as possible for shadow map extraction. The following is how we extract the shadow component from our morning, noon and evening renders.

Stand back and hold onto your hats, we are going to do…

P i c t u r e   M a t h ! My Word!

Since our goal is an image of only shadow information we need to take one of our daylight renders and remove from it all information about geometry and texture (which in our case is the overcast neutrally lit render). We tried to do this step via subtraction to get an additive shadow map but the maths gave us an image with a whole lot of (mostly inverted) colour information in there as well. This is bad because we want to keep all colour information only in the neutral map since that’s where the final colour correction and brush strokes paintover pass happens.

Dividing the renders instead of subtracting gave us exactly what we wanted. A mostly colour-agnostic multiplicative shadow map. Beautiful.

Here’s the resulting map featuring the main problem in red:

All pixels in this image illustrated in garish red are values above 1. Pretty much every surface facing the sun is lit up into super high values because we’re dividing the daylight map by the darker (smaller) value of the neutral map. If we were to just clamp values at 1 we retain shadows but lose all information about anything that’s brighter than the neutral map. This would essentially work but look super bland. We can do better.

Here’s A/B between the clamped shadow map multiplied by our neutral map versus the original morning render. Should look similar but all the sunlight is grayed out by our clamp. Not nice at all.

This is how multiplicative maps work. They only make colours darker.

In order to not lose shading information in the range above 1, we would either need to use a floating point file format (no thanks, let’s stick to png), misuse the 8 bits of png channel as a floating point value or somehow squeeze it nonlinearly into the 0 to 1 range. Since the last two are virtually the same, let’s just avoid the brainhurt of bit juggling and go with the squeeze.

Looking at functions that could pack our (0 to possibly infinite) values into a 0 to 1 range, arctangent function looked like the most obvious choice. It starts out as a one to one (0 equals 0) accordance and loses resolution as values go up.

That’s exactly the kind of squeeze we need. Except for the poor little pi in there but that’s nothing a little math can’t get rid of.

More picture math!

Here’s the tangentified shadow map in its full grayed out glory.

Looks as flat and dull as the neutral color map but that’s because our mortal eyes can’t process infinity. Blink

The above is what is going to be used in engine. The game takes the map and does reverse math to unpack it to its full infinite range before multiplying back onto the neutral map.

Picture math galore!

Images in the above calculation are two blindingly uninteresting maps that, using a single function of trigonometry, combine to form our juicy clear morning sunshine.

To my surprise, from the tests I’ve run so far, the loss of arctan map resolution in the upper values has yet to manifest itself in any form. Highlights are fine, dark objects are fine, in light or shadow.

Oh look, it stopped raining! I can snap out of noir now.

We repeat the above process for all three times of day and get three separate shadow maps which we combine into the R, G and B channels of a single image file. Here’s what our shadow map looks like after being packed with morning, noon and evening shadows.

On the left is our old method which just took Cycles’ shadow pass (just plain binary soft shadow/light without bounces) and on the right the method described above. The former might look bright and clear but the new method carries much, much more subtle lighting information from render to engine.

I love picture math. Picture math makes pretty. Hand Shake Left Hand Shake Right